
Back to the grind!! Last week for me, all are looking and feeling calm
and centred. May be not Pete, judging by his nice little bit of
photobombing behind myself and Olivia. Damn, imagine having a psycho
like him as your area supervisor!!!!

Things get a little down when the Area E crew reach the site. Sometime over the weekend, someone has seen fit to kick in the base of the chancel screen. Also left a little gift for us in the Roman Bath. This is despite the fact that the area has someone "guarding" the site at all times - although the guard is situated on a hill over the valley, so it wouldn't be hard to miss something. Anyway, can't dwell on this, there's still work to do.

 Now that Square 95 has been cleared, preparations are made to measure it up and get drawing of a top plan underway. Dr Bob,
Aaron, Luke, and myself begin the process of laying out the borders using
coloured string, followed by the laying out of measuring tape. This would be used to
create a "real world" X-Y axis, from which Ana and I would get to work,
painstakingly measuring up each and every line and crevice within the square.
This would include measuring each paver, each significant crack and whole, each
significant object within the space, all measured to scale. Harder and a lot
more fiddly than it looks.
Now that Square 95 has been cleared, preparations are made to measure it up and get drawing of a top plan underway. Dr Bob,
Aaron, Luke, and myself begin the process of laying out the borders using
coloured string, followed by the laying out of measuring tape. This would be used to
create a "real world" X-Y axis, from which Ana and I would get to work,
painstakingly measuring up each and every line and crevice within the square.
This would include measuring each paver, each significant crack and whole, each
significant object within the space, all measured to scale. Harder and a lot
more fiddly than it looks.


Work would continue on Square 96, digging up a healthy amount of Umaayad era
pottery shards.
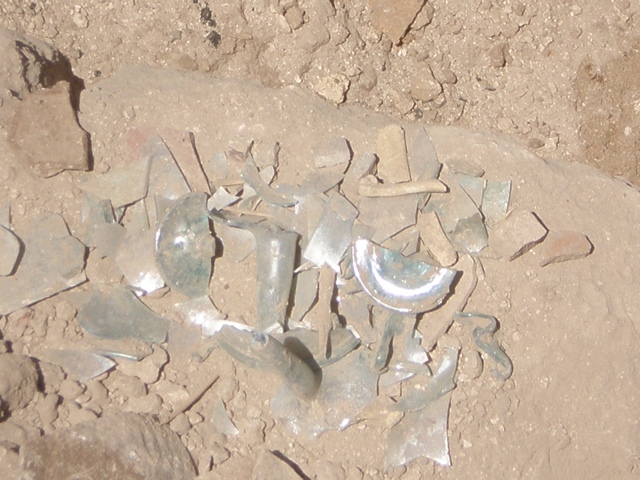
Also a large number of glass shards as well, including
pieces which would appear to have been the remains of a bottle. This was
confirmed when the larger neckpiece was unearthed.


This week would also be Area E's turn to be working in the registery for the
afternoon. Whilst everyone else would be outside for the pottery reading, any
pieces to be kept are sent upstairs to be logged by the registery crew. This
would include labelling the pieces, weighing and measuring them, and logging
them into the Excel spreadsheet according to type and description.

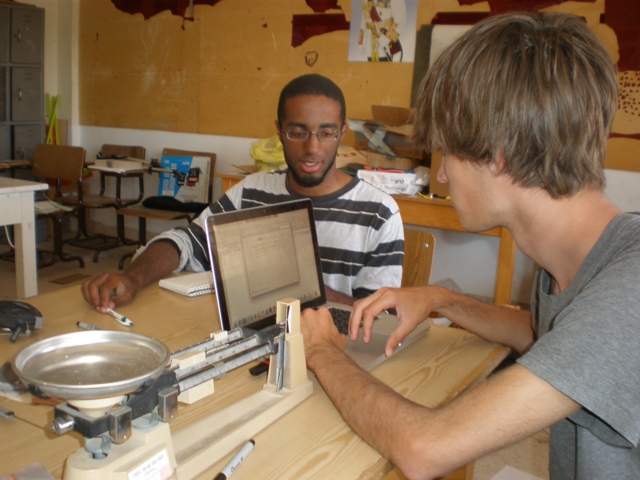

Labelling the pieces
involves painting on a small strip of nail polish remover (done by yours truly
here), which once dried would then be labelled with a felt black pen.

No comments:
Post a Comment